
AgentUI
An Open Source AgentUI for your AgentOS
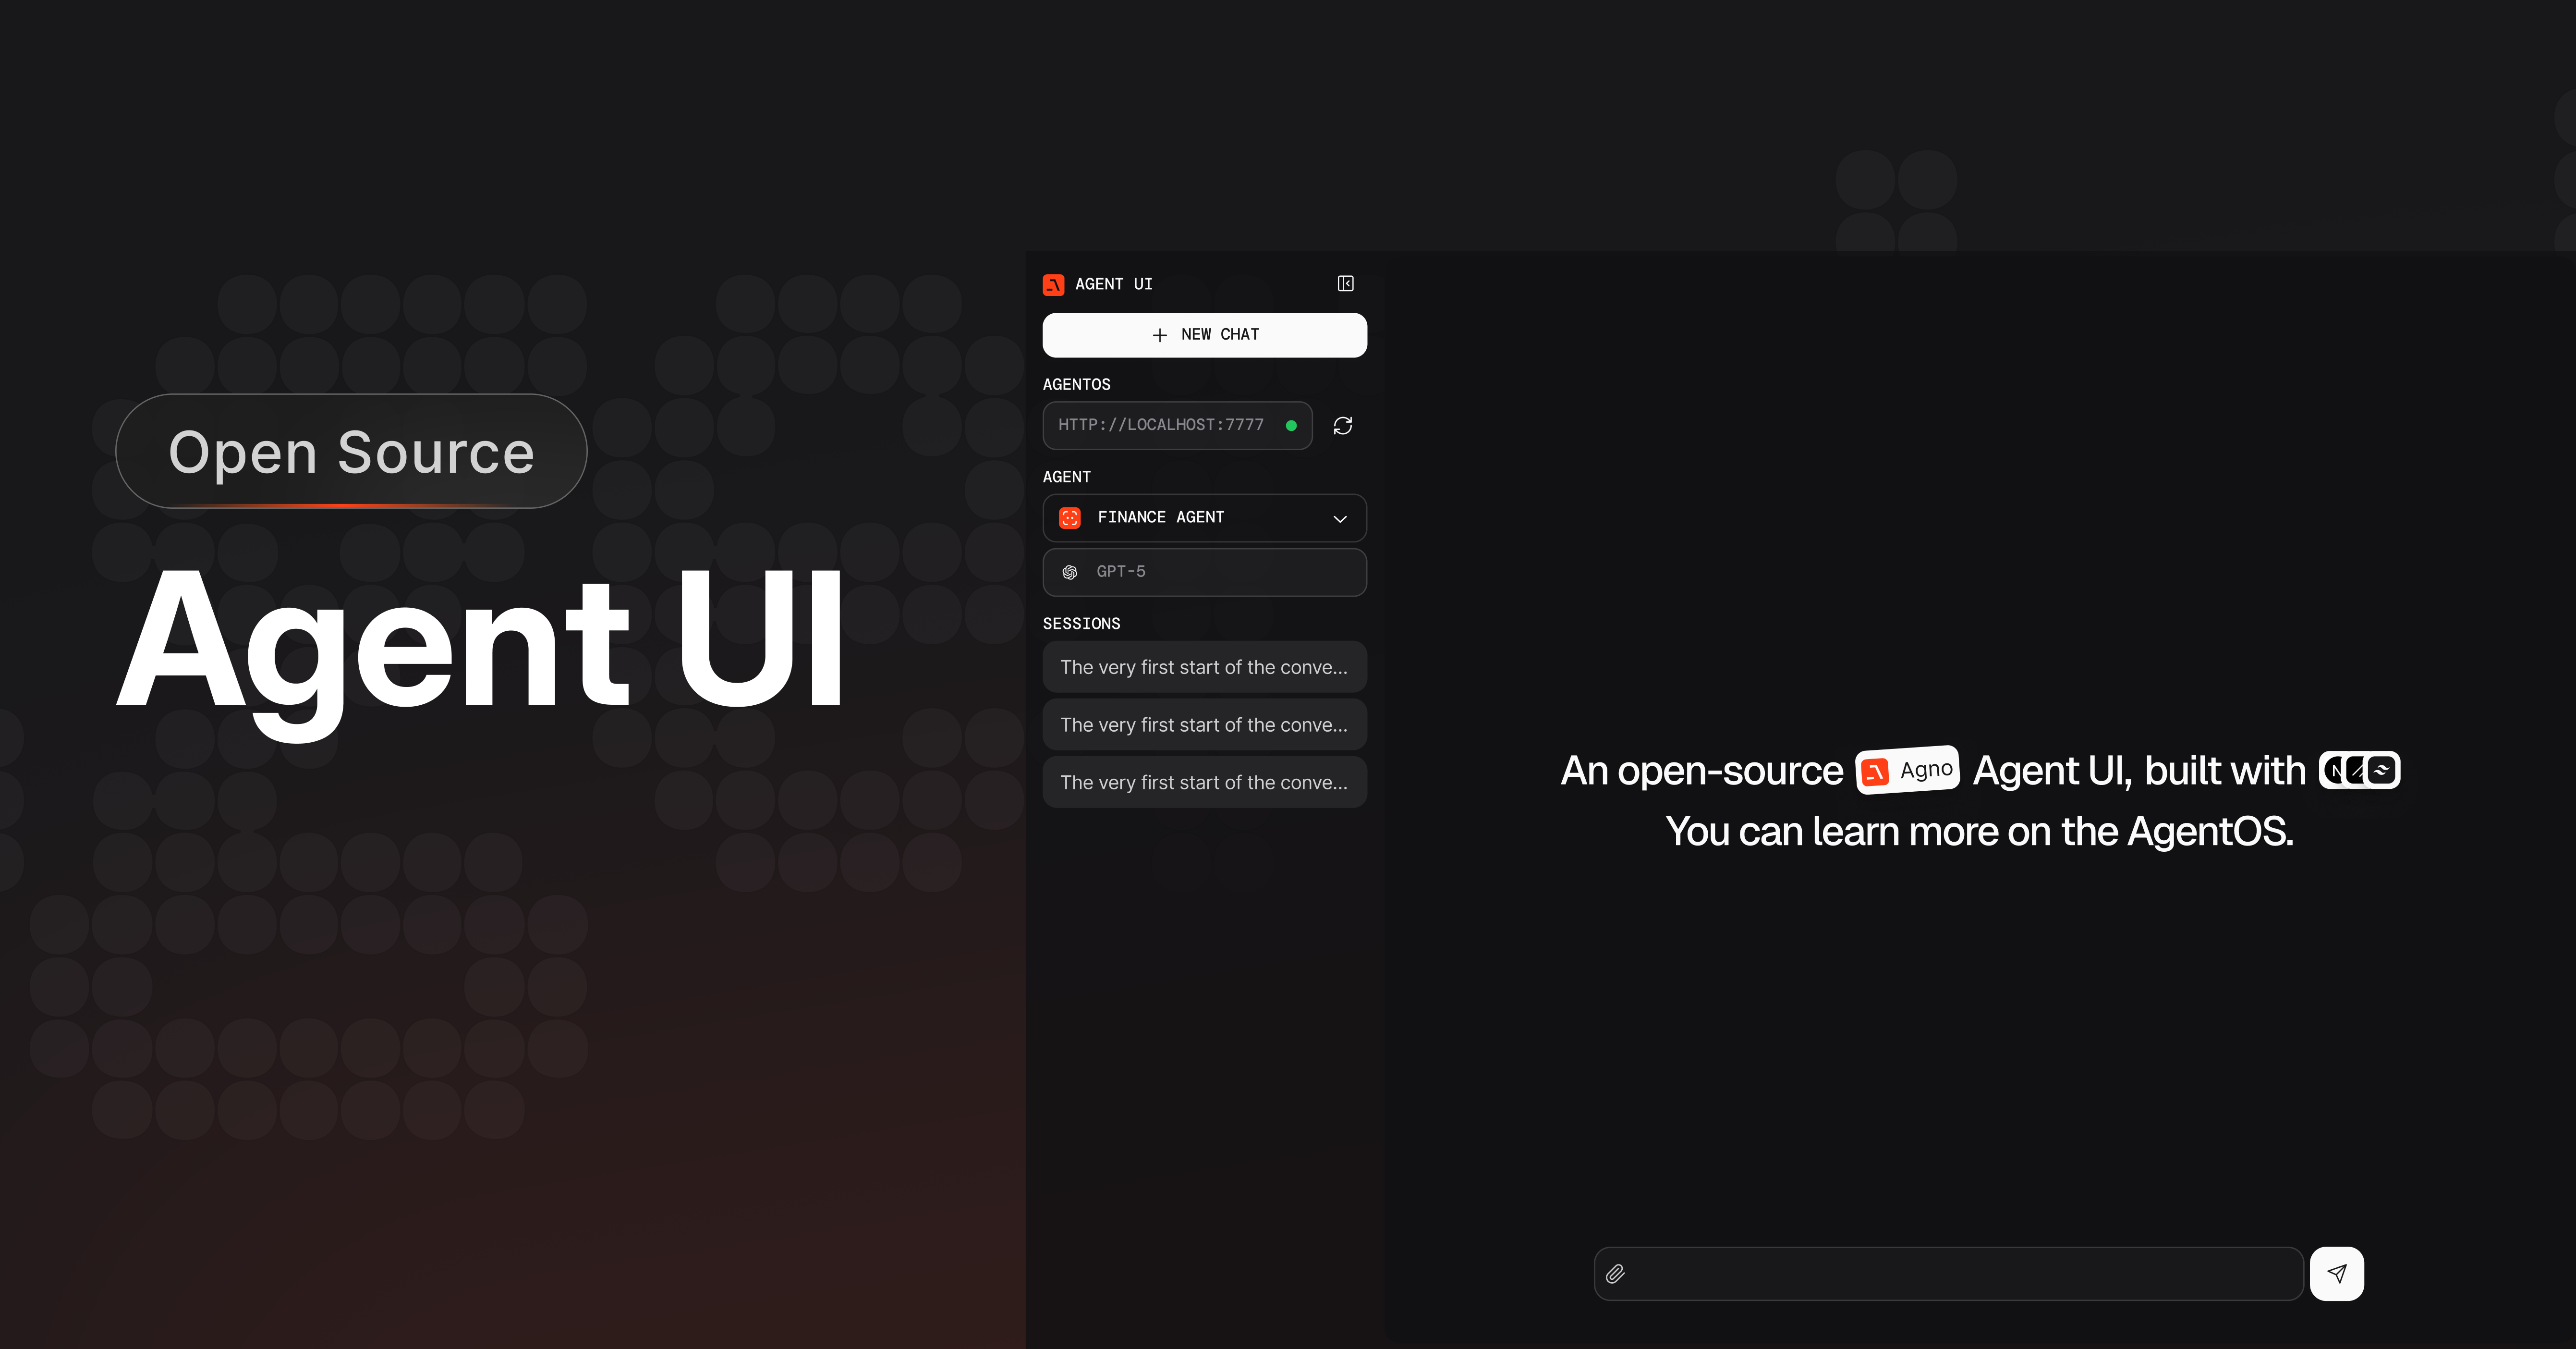
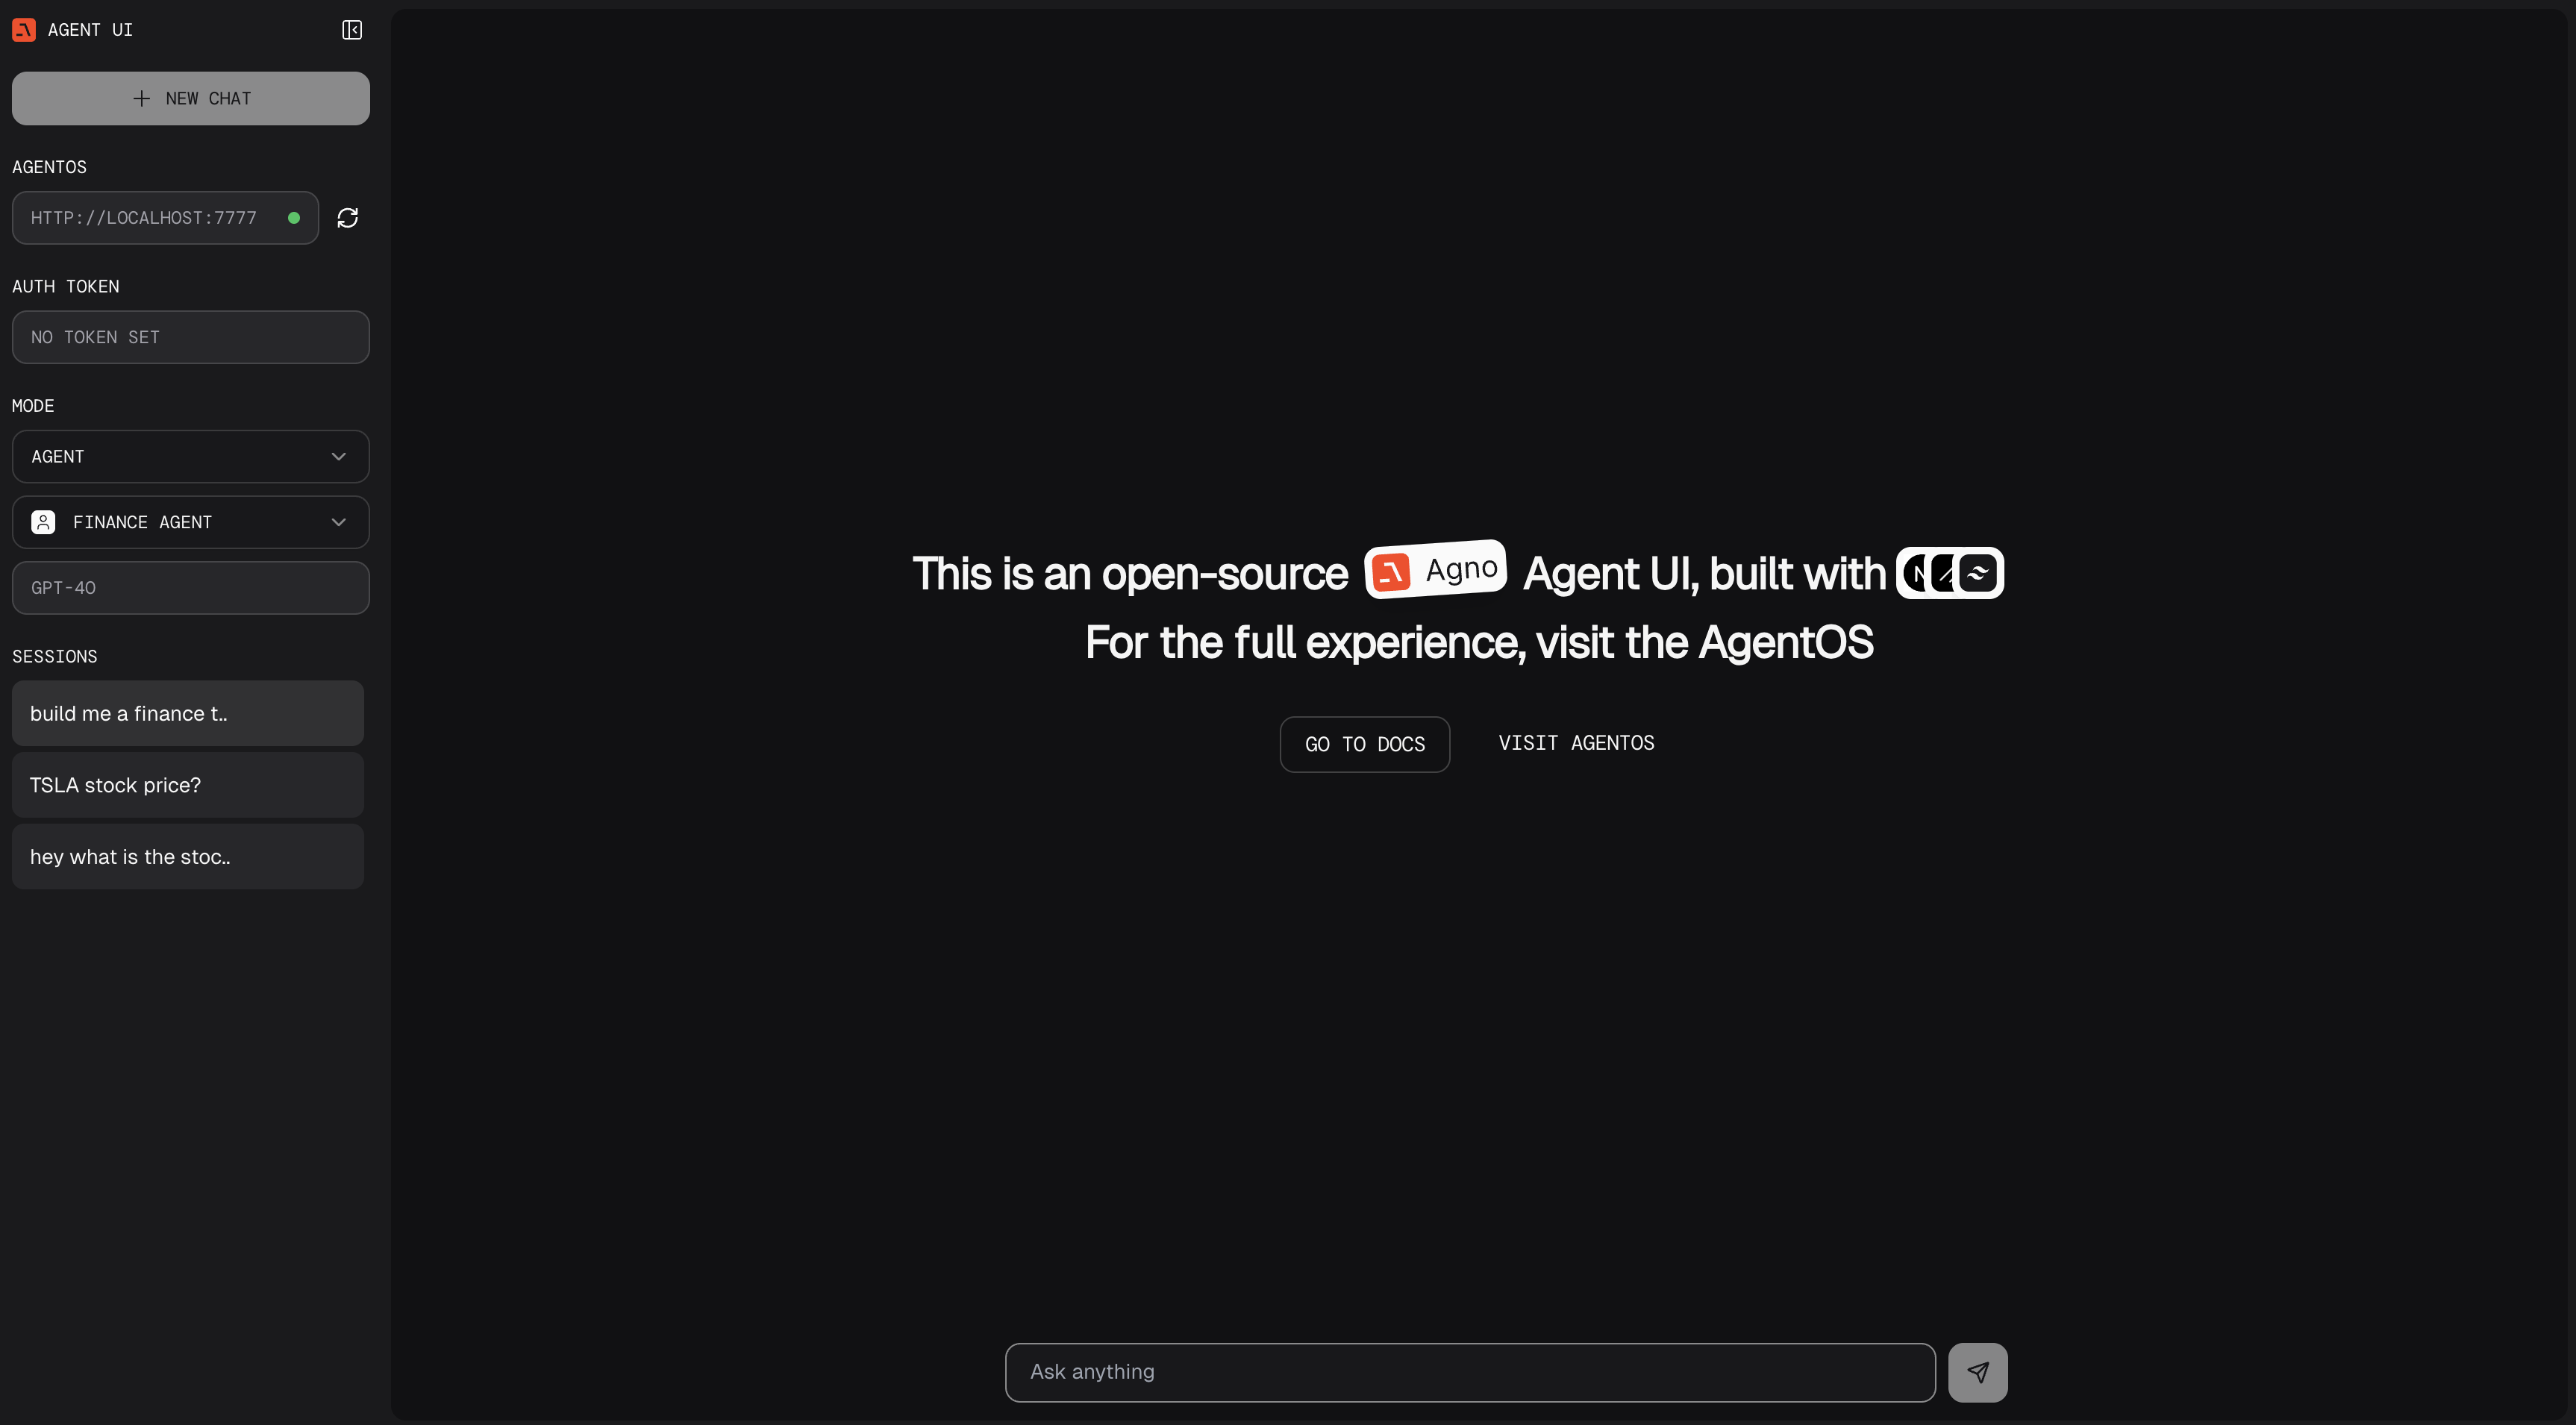
Kern provides a beautiful UI for interacting with your agents, completely open source, free to use and build on top of. It's a simple interface that allows you to chat with your agents, view their memory, knowledge, and more.
The AgentOS only uses data in your database. No data is sent to Kern.
Built with Next.js and TypeScript, the Open Source Agent UI was developed in response to community requests for a self-hosted alternative following the success of AgentOS.
Get Started with Agent UI
To clone the Agent UI, run the following command in your terminal:
1npx create-agent-ui@latestEnter y to create a new project, install dependencies, then run the agent-ui using:
1cd agent-ui && npm run devOpen http://localhost:3000 to view the Agent UI, but remember to connect to your local agents.
Clone the repository manually▼
You can also clone the repository manually
1git clone https://github.com/kern-agi/agent-ui.gitAnd run the agent-ui using
1cd agent-ui && pnpm install && pnpm devConnect your AgentOS
The Agent UI needs to connect to a AgentOS server, which you can run locally or on any cloud provider.
Let's start with a local AgentOS server. Create a file agentos.py
1from kern.agent.agent import Agent2from kern.models.openai import OpenAIChat3from kern.os import AgentOS4from kern.db.sqlite import SqliteDb5from kern.tools.duckduckgo import DuckDuckGoTools6from kern.tools.yfinance import YFinanceTools78agent_storage: str = "tmp/agents.db"910web_agent = Agent(11 name="Web Agent",12 model=OpenAIChat(id="gpt-4o"),13 tools=[DuckDuckGoTools()],14 instructions=["Always include sources"],15 # Store the agent sessions in a sqlite database16 db=SqliteDb(db_file=agent_storage),17 # Adds the current date and time to the context18 add_datetime_to_context=True,19 # Adds the history of the conversation to the messages20 add_history_to_context=True,21 # Number of history responses to add to the messages22 num_history_runs=5,23 # Adds markdown formatting to the messages24 markdown=True,25)2627finance_agent = Agent(28 name="Finance Agent",29 model=OpenAIChat(id="gpt-4o"),30 tools=[YFinanceTools()],31 instructions=["Always use tables to display data"],32 db=SqliteDb(db_file=agent_storage),33 add_datetime_to_context=True,34 add_history_to_context=True,35 num_history_runs=5,36 markdown=True,37)3839agent_os = AgentOS(agents=[web_agent, finance_agent])40app = agent_os.get_app()4142if __name__ == "__main__":43 agent_os.serve("agentos:app", reload=True)In another terminal, run the AgentOS server:
Setup your virtual environment
1python3 -m venv .venv2source .venv/bin/activate1python3 -m venv aienv2aienv/scripts/activateInstall dependencies
1uv pip install -U openai ddgs yfinance sqlalchemy 'fastapi[standard]' kern-ai1uv pip install -U openai ddgs yfinance sqlalchemy 'fastapi[standard]' kern-aiExport your OpenAI key
1export OPENAI_API_KEY=sk-***1setx OPENAI_API_KEY sk-***Run the AgentOS
1python agentos.pyagent_os.serve() matches your filename (e.g., "agentos:app" for agentos.py).View the AgentUI
- Open http://localhost:3000 to view the Agent UI
- Enter the
localhost:7777endpoint on the left sidebar and start chatting with your agents and teams!